- After Effects Tutorial
How to make 3D text with After Effects (template and plug-in included)
Nov 28,2019• Proven solutions
To bring more out of an After Effects project, people often get inclined to get the text 3D. And creating a 3D text in After Effects is not as complex as you think. If you do not believe it, just get through this post as we will be sharing you the step-by-step process that will surely serve your purpose. In addition, we will also introduce creating 3D text using After Effects templates and plug-in for a way quicker process.
- Part 1: How to Make 3D Text in After Effects
- Part 2: How to Make 3D Text with After Effects Template and plug-in
Alternative to After Effects to Make 3D text- FilmoraPro
If you want to make 3D text easier, here we recommend using FilmoraPro. You can use animation to make 3D text in FilmoraPro. Download it now have a try!
You may also like: 10 Best After Effects Alternatives
Part 1: How to Make 3D Text in After Effects
Let’s not wait any longer but to get started with the detailed step by step tutorial. Ensure to follow the steps carefully to efficiently make 3D text in After Effects.
Step 1: To begin with, make use of the Type tool – T for entering the text. Next, go to the Character panel to set the typeface according to the preference. Next, hit on the Composition followed by Composition Settings. Then go to 3D Renderer and choose Cinema 4D from the dropdown.
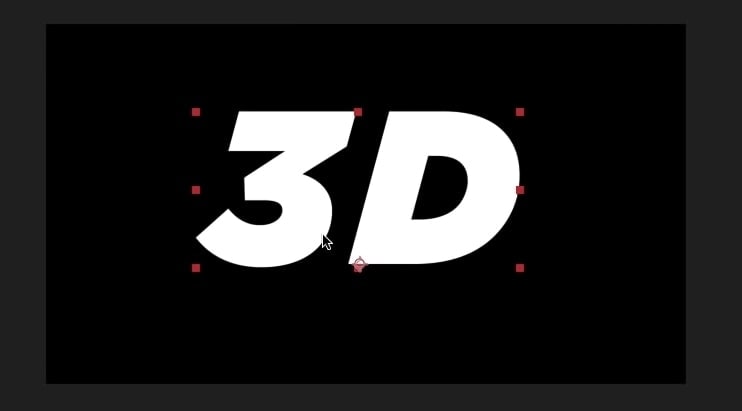
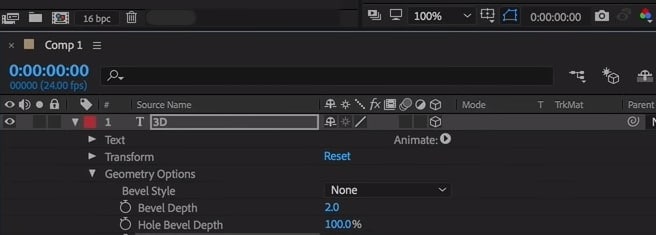
Step 2: As the next step, hit on 3D Layer icon within the text layer and add depth to it so as to receive the ideal 3D look of your text. For adding depth, just launch the Text composition layer settings > Geometry Options. Now, do adjustments to Extrusion Depth.
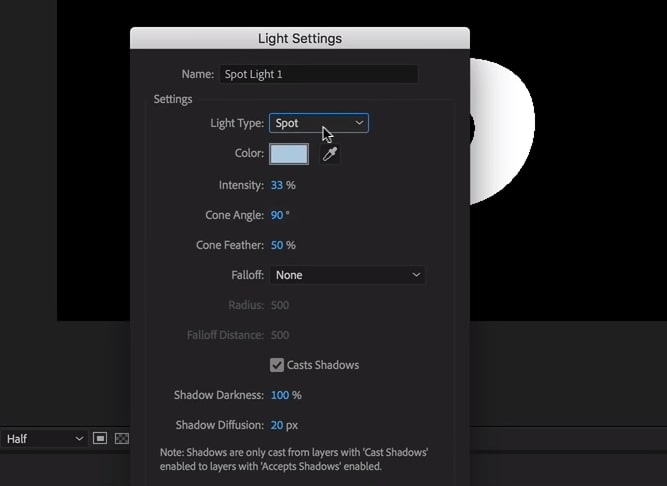
Step 3: It’s time to enhance the 3D look by lighting and texturing it. To do this, head to the Layer menu and New > Light. In the Light Type drop-down menu and pick out Spot from there. Make adjustment to the color let’s say adjust it to white. Bring the Intensity and Shadow Darkness to 100%. Choose Cast Shadows subsequently and click OK.
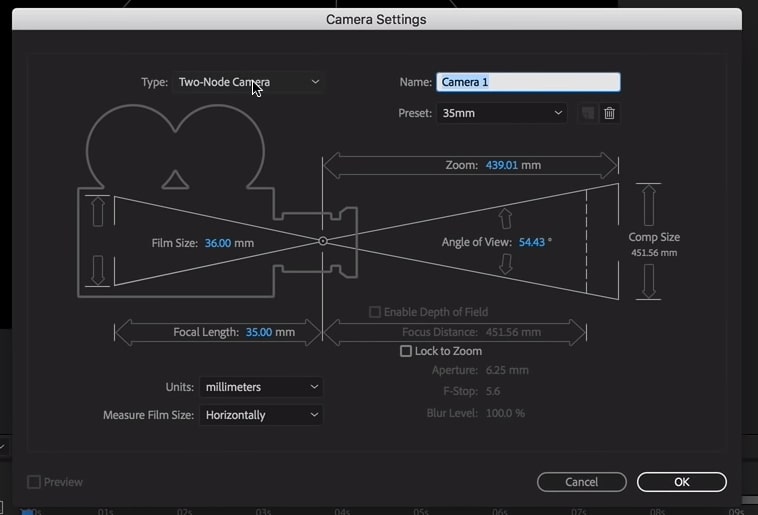
Step 4: Next up is adding the camera. Click Layer > New > Camera and choose Two-Node Camera. Set the Focal length according to need and click “OK”. You can rotate the camera tool by using “C” key on your keyboard.
Step 5: subsequently, you need to select your 3D text layer and tap the “A” key two times. A list of 3D options will appear now. Change the Bevel Style to Convex and add Bevel depth to the text to emphasize the look. With this, the text will be more enhanced as the light will reflect over it.
>Step 6: Press the key combination of Ctrl+D/CMD+D on your computer to duplicate the spotlight followed by pressing P key. This will launch the Position settings, here you can make adjustments in the light’s position.
Step 7: From the options that came by double tapping the A key, choose 3D option and enable Cast Shadows under the Material options. Choose the first spotlight and press A key twice. Now select the preferable color. Now choose the second spotlight and adjust color again.
Step 8: To add ambient light, click Layer > New > Light. Enable Ambient in the Light Type and confirm. Thereafter, click on the Ambient light layer and press A twice. Make the Intensity low and move ahead.
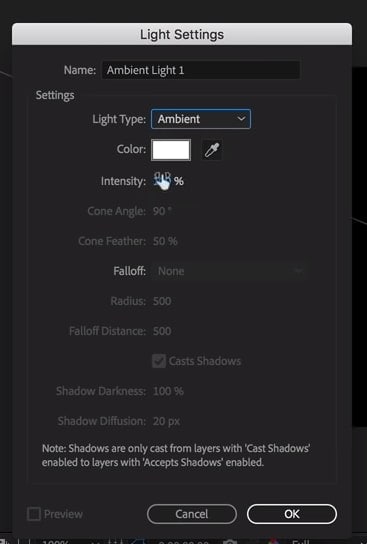
Step 9: To work with Specular Intensity and Specular Shininess, head to the Material options in the 3D layer. Adjust them slightly to get pleasant result. To provide finishing, go to Layer > New > Solid and pick color to create a background. Drag the solid to bottom in the layer panel.
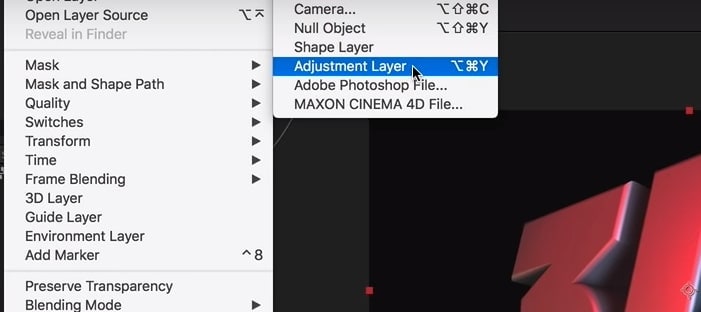
Step 10: Thereupon, go to Layer > New > Adjustments Layer. Drag it to the top in the layer panel. This will make a fresh adjustment layer. Next, head to Window > Effects & Presets > Curves in the right panel of Effects & Presets. Drag the Curves effect to the Adjustment layer you just created. Make the S-curve to give contrast to the text.
Step 11: Lastly, to animate the text, use the Camera layer you created in the beginning and press P. drag the playhead now to the end point of the animation, let’s say move to 5 for a 5-second animation. Add a position keyframe there.
Later, drag the playhead to initial point i.e. 0 seconds. Press C key till rotate tool greets you. Start moving the text until you are satisfied with the position of the start point.
Part 2: How to Make 3D Text with After Effects Template and plug-in
1. Free 3D Text
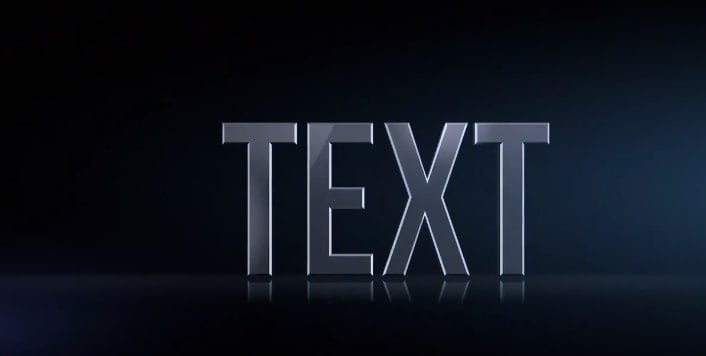
Featuring 3 different text placeholders, Free 3D Text is a real 3d animation text After Effects template. The template enables you to create stunning 3D titles in a hassle free way. It makes use of the software which is bundled After Effects CC, i.e. free Cinema 4D Lite. The music “Dubstep Logo Intro” used in the template introductory video is not included with it. But you can download it separately.
2. Element 3D
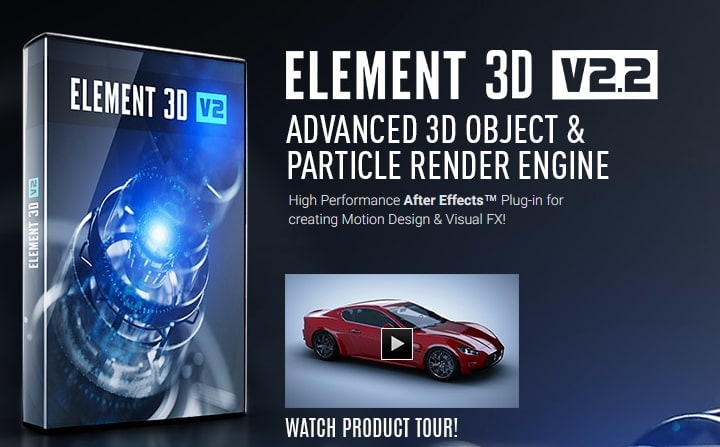
Element 3D has rolled out a new version 2.2 that enables to you make real 3D objects (and sequences as well) and bring them to life. With this 3D text After Effects plug-in, you can get things done too quickly as you no longer have to implement effects individually for every other similar object. You can simply make use of various features like Group Symmetry Creation Mode, Dynamic Group Folder reflections, Matte Reflection Mode, Matte Shadow with Alpha Channel and many more.
3. Pond5
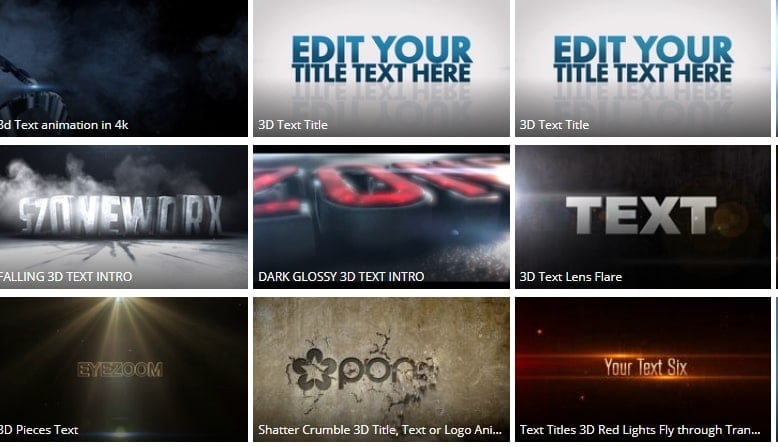
Pond5 is a one stop website that equips you with several different types of 3D text After Effects template which you can download and create your own 3D titles with much ease. Over Pond5 you can easily access templates for older version of After Effects too.
4. VideoHive
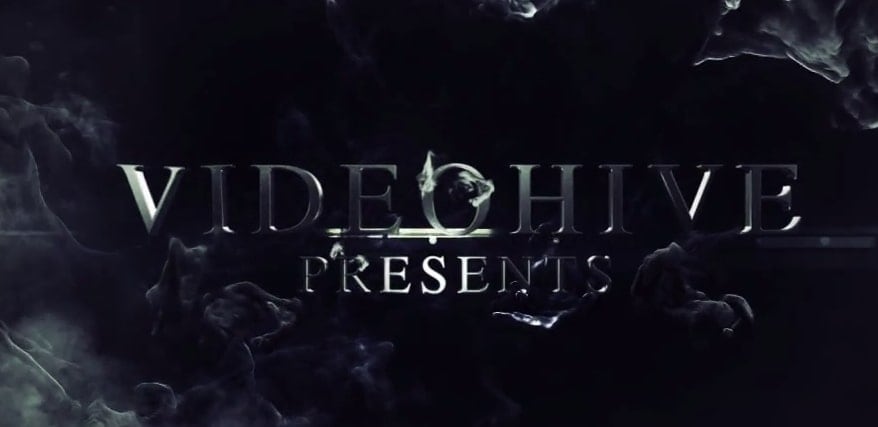
Likewise Pond5, VideoHive is yet another 3D text After Effects template provider website. You can define your search criteria using several filters from the left and download the one you desire. Once downloaded, you can make use of the template as per your preference.
5. Cinema 4D Lite/Cineware Integration
Since 2013, this revolutionary 3D text After Effects plug-in has seamlessly enabled users to integrate 3D assets in AE compositions. With Cineware you can easily drag drop native Cinema 4D files to import them. Moreover, during the entire post-production process, you also have the full control over the 3D elements.

6. 3D Invigorator
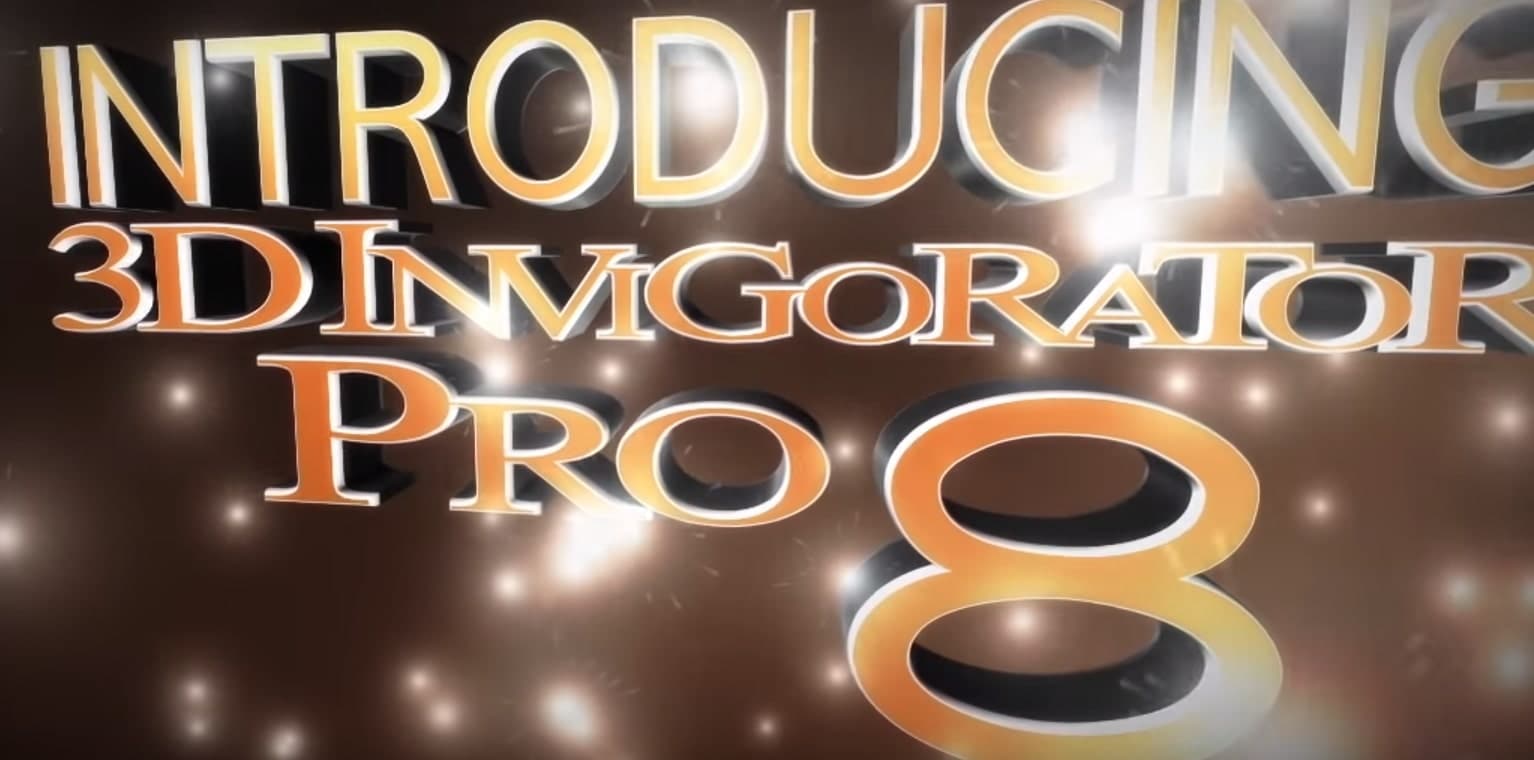
3D Invigorator PRO is a yet another 3D text After Effects plug-in on the list. It helps you to stay in your comfort zone of After Effects interface and make use of its keyframes to do the animations. All in all, you can learn to create 3D text in After Effects quickly and be productive at the same time.
Conclusion
If you go through the article carefully, you won’t find creating 3D text in After Effects that difficult. We have provided the full tutorial in a detailed way for your better understanding. We also introduced After Effects template and plug-ins to you. If you want more interesting topics from us, stay tuned and drop us comments below on your views about this post. Thanks for reading!
Bring up your video to a professional level with straightforward tools.
Try It Free Try It Free


Liza Brown
chief Editor
0 Comment(s)